

Explore more.
Connect better.
Make it yours.
Your practical guide to the CNS community, events, outdoor resources, Mr. Nature AI, business directory and marketplace.
One community. Many ways to participate.
Whether you’re joining a hike, finding a park permit, sharing outdoor gear, publishing a story, or growing a local business, this guide helps you find your next step.
This is a living guide. Features and permissions may vary by membership and site configuration. Check current site pages for the latest options.
Before you begin
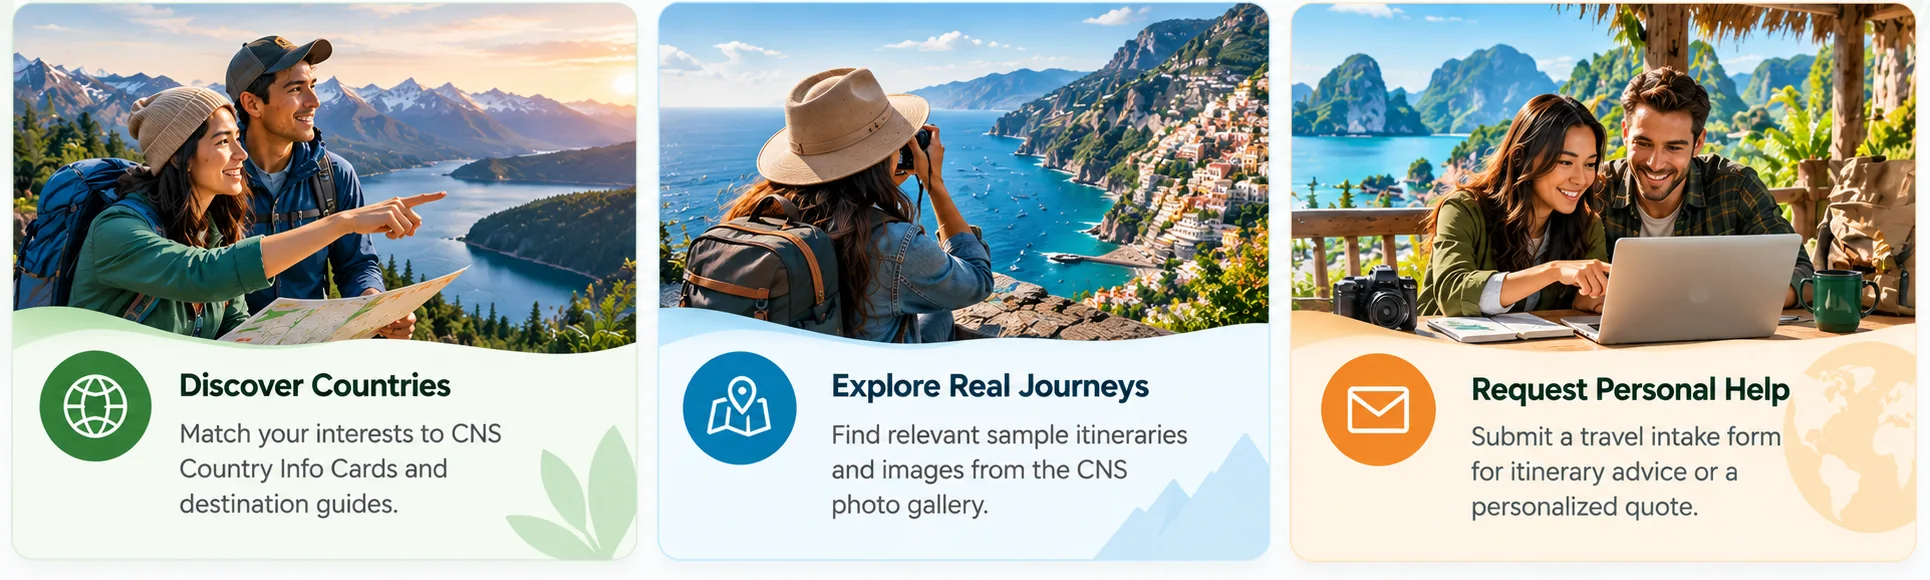
- CNS combines a social community, outdoor event calendar, resource library, AI assistance, business directory, and marketplace. Some actions require sign-in, membership verification, organizer/vendor permissions, or approval. Menu labels can change as the site evolves; use the closest equivalent if a button differs.
- A useful learning path: create an account → complete your profile → join a group → discover an event → explore resources → contribute a post or listing.
1. Register and activate your account
- Open the CNS website and select Join, Register, or the membership invitation.
- Review the membership options before choosing a tier.
- Complete the registration form using your own email and accurate contact information; set a strong, unique password.
- Apply an eligible discount at checkout if offered and complete any required payment.
- Check your inbox and spam folder for verification, approval, or welcome messages.
- Sign in once your account is approved; review your account and privacy settings.
Membership verification may limit access until completed. An older CNS FAQ says reviews can take up to 72 hours; treat this as guidance rather than a guaranteed current service level.
2. Choose the right membership
- Nature Lover: start with the free/non-CoOp entry point for selected social, wellness, and stewardship activities.
- Casual Outdoorsy: consider this for regular local recreation, camping, community features, and member benefits.
- Professional: evaluate this if you want advanced activities, leadership, instruction, or professional contribution opportunities.
- Adventurist: consider this for more extensive domestic/global adventures, planning support, and travel-related benefits.
- Compare the current tier descriptions, eligibility, discounts, prices, and checkout terms before paying.
- If you represent a business, ask CNS which business-service privileges must be enabled; an ordinary membership does not automatically imply vendor or publisher access.
Published CNS pages show inconsistent or older prices and benefits. The live checkout and current membership terms are authoritative.
3. Complete your profile—and why it matters
- Sign in and open My Profile or My Account; select Edit Profile.
- Add a recognizable profile photo and optional cover image.
- Write a short introduction: outdoor interests, experience level, home region (not your exact address), goals, and what you can contribute.
- Add relevant skills, certifications, volunteer interests, and professional details only if you want them visible.
- Set profile visibility and review privacy, messaging, notification, and group-invitation preferences.
- Preview your public/member view and update it as your interests change.
A useful profile helps other members find compatible activity partners, leaders identify skills, and businesses build trust. Do not post private contact details, medical information, or emergency information publicly.
4. Use the CNS social network
- Open Community, Members, Groups, or Timeline after signing in.
- Browse member profiles by interests and connect or follow where available.
- Join a relevant activity group such as Easy Hiking, Water Sports, Nature & Wellness, or Stewardship.
- Introduce yourself in the group, ask a specific question, and contribute useful trip tips or photos.
- Post to the timeline and select the appropriate audience (such as Public, Members, Connections/Friends, or Only Me) if shown.
- Use private messages for one-to-one planning; check notification and blocked-member settings when needed.
Public posts may be visible outside the logged-in community. Group creation may require CNS authorization and approval.
5. Find and join events
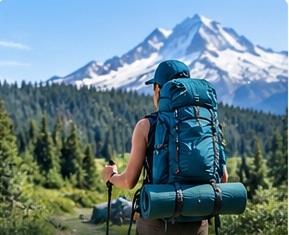
- Open the Events calendar or browse events through a CNS activity group.
- Filter by date, activity, location, difficulty, or event type when those filters are provided.
- Open an event to review date/time, meeting place, distance, elevation gain, leader, capacity, cost, gear, and prerequisites.
- Check your fitness and experience against the stated requirements and read cancellation/refund terms.
- Choose Register, RSVP, or Buy Ticket as applicable; complete checkout or waiver steps.
- Watch your email and group messages for updates; cancel promptly if your plans change.
A calendar listing is not a substitute for checking weather, trail conditions, land access, or the leader’s instructions.
6. Create and manage an event
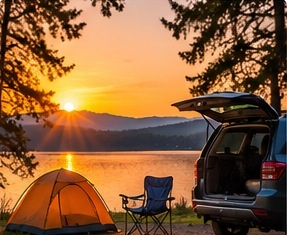
- Confirm your account has event-organizer privileges; request activation if the submission option is missing.
- Open the event submission or organizer dashboard and choose Add Event.
- Enter a clear title, description, category, start/end date, time zone, and exact meeting details for registered attendees.
- Add leader/co-host information, route or venue, difficulty, participant limits, equipment, accessibility, prerequisites, and safety expectations.
- Configure tickets, price, capacity, registration questions, visibility, and approval settings where enabled.
- Preview and submit for review or publish, then monitor registrations and send updates.
- After the event, record attendance and share a recap or photos only with consent.
CNS describes organizer tools including recurring events, maps, capacity controls, notifications, and frontend submission; actual controls depend on the role and configuration.
7. Find information and use Mr. Nature AI
- Open a CNS information page under Nature, Adventures, Resources, or Business.
- Read the overview, use page filters/search cards, and follow curated links for deeper details.
- Find the Ask Mr. Nature section, select a topic or suggested question if available, and type a precise question.
- Include useful constraints such as destination, month, experience, distance, budget, or accessibility needs.
- Review the response, ask follow-up questions, and save useful links or notes.
- Verify time-sensitive details with official park, weather, permit, and reservation providers before acting.
Example: “Suggest three moderate hikes near Mount Rainier for November, with parking pass requirements and safer alternatives if snow closes the road.” AI assistance is for exploration and planning, not guaranteed live access or emergency advice.
8. Explore CNS outdoor resources
- National Parks Explorer: compare parks, seasons, signature experiences, and planning considerations.
- Lottery / Permit Monitor: identify competitive permit or lottery opportunities; confirm opening dates, deadlines, rules, and status on the issuing agency’s site.
- Outdoor Reservations & Permits: identify campground booking platforms, required passes, and relevant agency links.
- Weather Forecasts: compare forecasts and mountain conditions before choosing an activity.
- Outdoor Apps: find navigation, mapping, safety, and trip-planning tools appropriate to your activity.
- Outdoor Gears & Tools / Outdoor Brands: research equipment, shopping resources, rentals, reuse, and gear exchanges.
- Explore Washington / Explore PNW: browse regional destinations and trip ideas.
- Global Adventures: research international travel styles, itineraries, and destinations.
- Recreation Activities: select an activity type and find related community groups, events, and resources.
- Nature Stewardship / Nature & Earth Guardians: discover conservation organizations, volunteer opportunities, and ways to help.
- Outdoor Clubs & Social Groups: discover organizations and potential activity partners.
- Outdoor News, Podcasts & Blogs: discover educational media and community stories.
Resource pages may be informational directories rather than live booking, lottery-entry, or forecast services. Always follow the official linked provider for transactions and current rules.
9. Search the business directory
- Open the CNS Business Directory, or visit the directory location page.
- Enter a business name, service keyword, category, or geographic area in the available search controls.
- Apply category/location filters and open a matching result.
- Review the business description, website, contact information, location, services, and reviews if available.
- Contact the provider directly and confirm availability, qualifications, terms, and pricing.
Directory inclusion is not a blanket CNS endorsement. Verify professional credentials for safety-critical services.
10. Add a business or claim an existing listing
- Sign in and check whether your account has business-directory privileges.
- Search the directory first to avoid creating a duplicate listing.
- If no listing exists, choose Add Listing / Add Place (or request the submission link from CNS).
- Select the correct business category and enter legal/display name, description, service area, address if appropriate, website, contact details, hours, and photos.
- Preview the listing, review any plan or payment terms, and submit for moderation.
- If a listing already exists, open it and look for Claim Listing / Claim This Business.
- Provide the requested proof of ownership or affiliation and wait for verification before editing claimed information.
- Keep the listing current and respond professionally to inquiries and reviews.
Claim controls and proof requirements depend on GeoDirectory configuration. Do not submit a second listing merely because you cannot find a claim button.
11. Join the marketplace as an individual
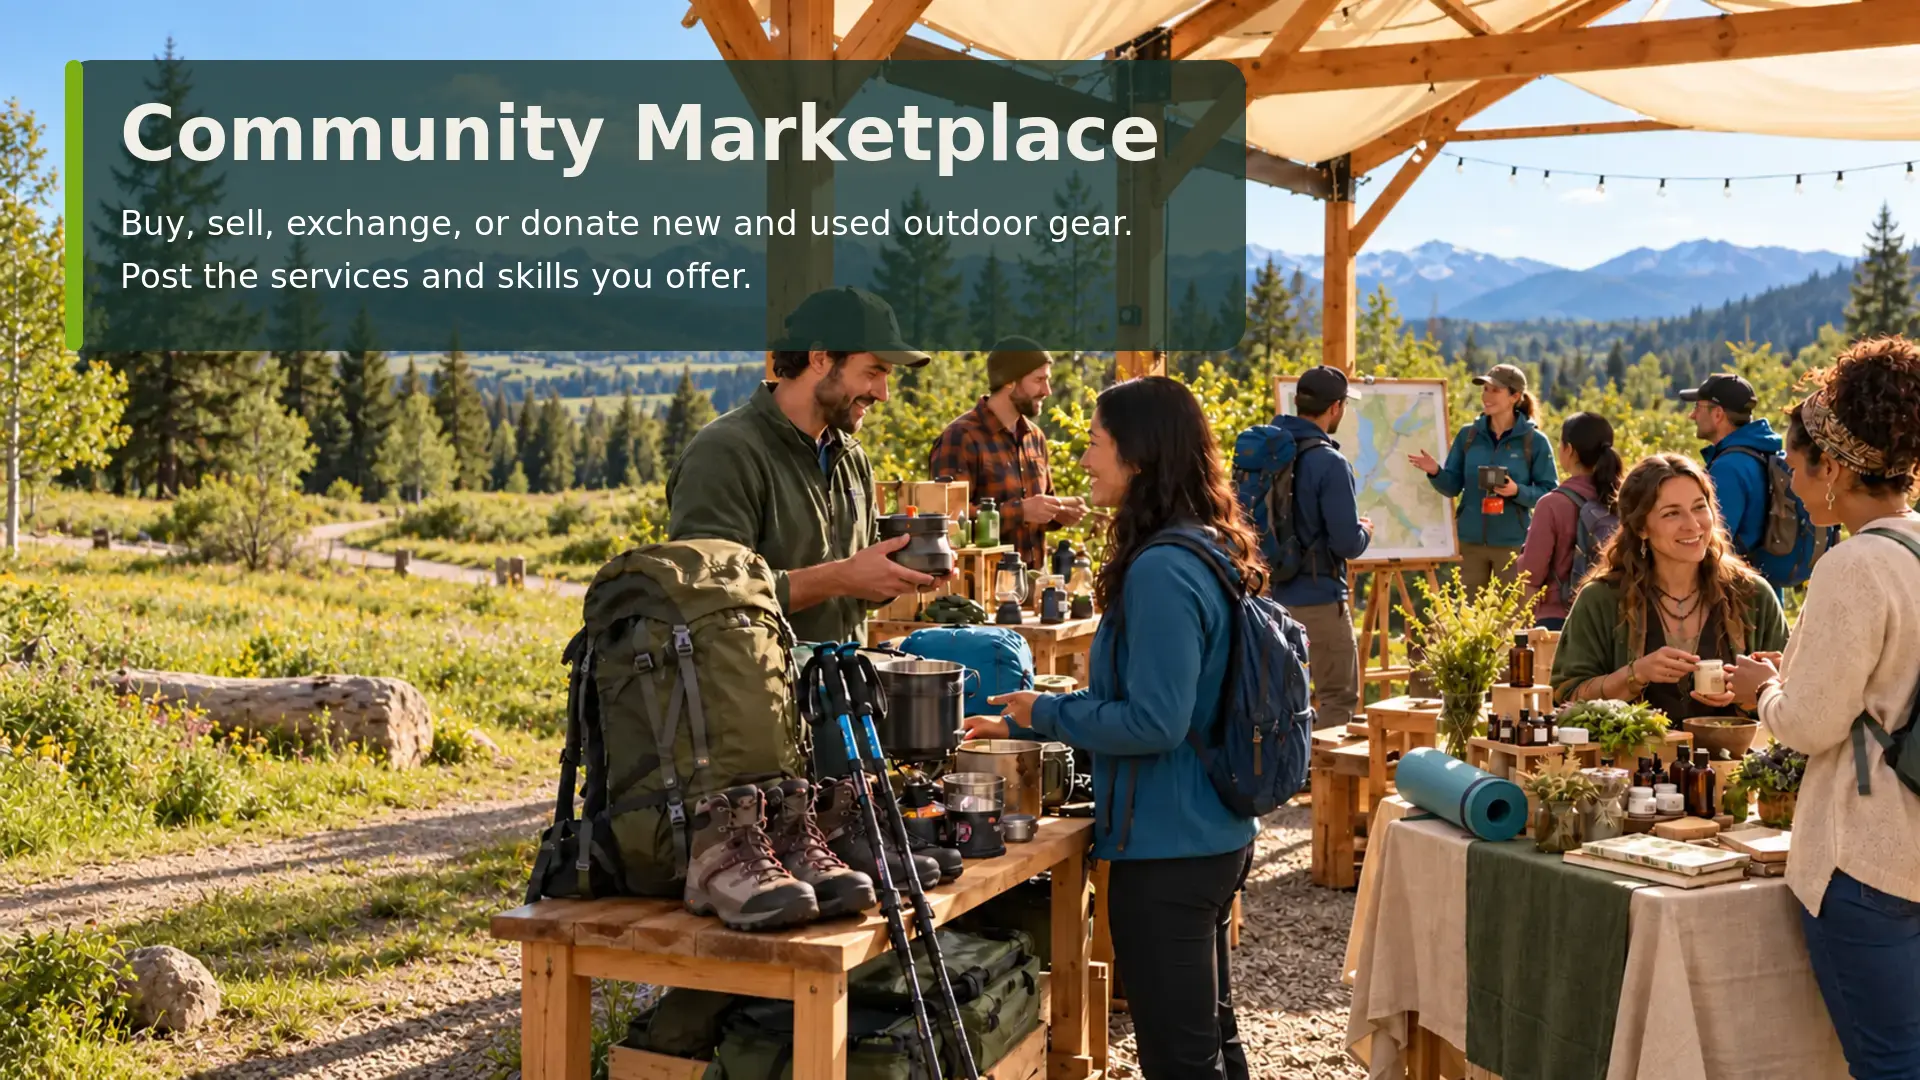
- Sign in and open the CNS Marketplace.
- Review seller eligibility and whether peer-to-peer listings are currently enabled for your membership.
- Choose the available Sell, Exchange, Donate, or Add Product flow; request seller permission if no submission control appears.
- For used gear, enter an accurate title, brand/model, size, condition, known defects, price or exchange preference, location, and original photos.
- Choose a relevant category, describe pickup/shipping arrangements, and publish or submit for review.
- Answer buyer questions promptly and update the listing when the item is no longer available.
Never conceal damage to climbing, protective, or life-safety equipment. Arrange exchanges safely and use only supported payment methods.
12. Open a business store and list products/services
- Create or claim your business directory listing first so customers can find your organization.
- Ask CNS to activate your business-member and MultiVendorX marketplace vendor permissions.
- From the marketplace vendor registration or dashboard, complete store setup: store name, description, branding, policies, and any required payout/tax details.
- Add a product or service with clear title, category, images, description, price, inventory/availability, and fulfillment or booking terms.
- For services, specify service area, delivery format, qualifications, duration, exclusions, and how a customer schedules or redeems the service.
- Submit products for approval if required; preview how they appear in the general WooCommerce catalog.
- Link your marketplace storefront from your directory listing if the site provides that field, and keep both updated.
GeoDirectory, WooCommerce, and MultiVendorX are separate components; an automatic directory-to-store association should be tested before promising that a new listing instantly creates a store.
13. Publish a blog or trip report
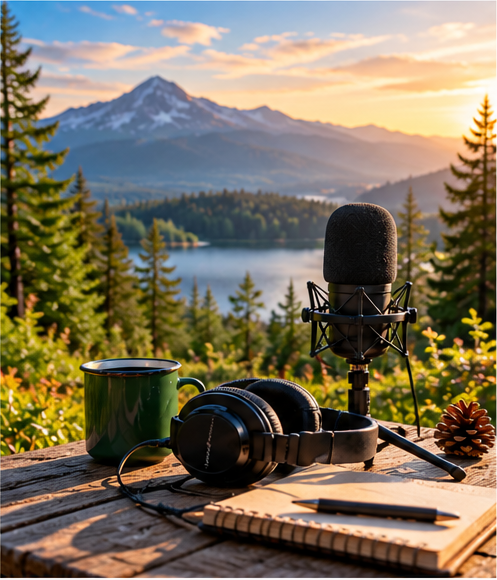
- Sign in and look for Blog, Write a Post, or the member publishing dashboard.
- If the option is absent, ask CNS for contributor/publisher access.
- Choose a useful topic: trip report, route lessons, gear guide, conservation story, travel itinerary, or professional insight.
- Write a descriptive title, a brief introduction, practical sections, and a clear takeaway.
- Add original photos with permission, meaningful captions, category/tags, and official links where appropriate.
- Preview on mobile, credit sources, and submit for moderation or publish according to your role.
- Share the finished article to your group or timeline and respond to comments.
Avoid sharing sensitive wildlife locations, private property access details, or unverified safety claims.
14. Promote your work and collaborate
- Build a credible member profile and complete your business listing before promoting offers.
- Publish helpful educational content, relevant events, and genuine member specials.
- Explore CNS Social Marketing for Members to understand eligible cross-channel publishing services.
- Request activation of connected-channel or scheduling privileges rather than assuming all platforms are already connected.
- Collaborate with other CNS businesses, guides, nonprofits, and event organizers on workshops or community projects.
Use opt-in, permission-based promotion. Cross-posting depends on the actual channel connections and role settings.
Create a CNS community group
- Sign in, open Community → Groups (or the Groups directory), and search for an existing group before creating a duplicate.
- If your account has group-creation permission, select Create a Group, choose a descriptive name, and write a clear purpose, location, activity level, and expected member conduct.
- Upload a recognizable group avatar and cover image. Choose the visibility setting that fits the audience, then complete the group setup steps.
- Invite relevant members, publish a welcome post, establish group rules, and schedule an introductory activity or discussion.
- If Create a Group is not visible, ask CNS to enable the feature for your membership or role.
CNS may allow members to create multiple or unlimited community groups, depending on its active configuration and permissions. This is not a promise of unlimited storage, unrestricted publishing, or automatic approval.
Group types, parent groups & management
- Public: typically discoverable and open for visitors to view, with participation rules depending on configuration. Private: discoverable, but group content and membership generally require joining or approval. Hidden: not listed publicly; members generally join by invitation.
- Use a parent group to organize a larger community (for example, Hiking) and related subgroup communities (Easy Hiking, Advanced Hiking, or regional chapters), where hierarchical groups are enabled.
- As an organizer, review group settings for description, cover image, privacy, member invitations, join requests, moderators, and administrator roles.
- Use the group activity feed, discussions/forums, photo or document sharing, announcements, and event links when those components are enabled.
- Keep group conversations welcoming; moderate spam, address reports, and hand over administration if you step away.
Changing a group from private/hidden to public can affect content visibility. Review member expectations first. Parent/subgroup capabilities and specific manager controls depend on CNS configuration.
Use community forums & discussions
- Open the community Forums area or the Discussions tab of a group, where enabled.
- Search existing topics before starting a new thread; choose a descriptive title such as “Winter trailhead access near Rainier.”
- Add context, specific questions, relevant links, and photos you have permission to share.
- Reply constructively, follow or subscribe to discussions when available, and thank members who contribute helpful answers.
- Use the group activity feed for quick updates and forums for longer, searchable, topic-focused conversations.
Forum access, posting rights, subscriptions, and moderation may vary by group privacy and member role.
Find community roles, jobs & volunteer positions
- Explore CNS community announcements, leadership opportunities, volunteer/internship information, and relevant group posts for available positions.
- Look for opportunities such as activity leader, group moderator, event organizer, advisor, board or sponsorship contributor, community promoter, or internship.
- Review the responsibilities, time commitment, eligibility, training, and whether the role is volunteer, paid, or project-based.
- Complete your profile with relevant skills and interests, then use the published application or contact route to express interest.
- Business members can share legitimate community-relevant openings only in approved spaces and according to CNS posting rules.
An opportunity described in this guide is a role category, not a verified current vacancy. Confirm openings and compensation directly with CNS.
Earn points, badges & member achievements
- Visit your profile, member dashboard, or rewards/achievements area to find available badges, points, ranks, and challenges.
- Build your profile and participate meaningfully: join groups, share useful posts, reply to discussions, and invite friends when eligible.
- Explore community contribution achievements for volunteering, activity leadership, sponsorship, and other approved roles.
- Look for outdoor challenges and milestones—such as first backpacking trips or summit challenges—and follow the verification rules before claiming completion.
- Review your progress and any redemption conditions. Celebrate achievements without turning outdoor safety into a race.
CNS has planned Good Member, Social Member, Promoter, High Profile, and Challenger Outdoorsy rewards. Exact point values, automated triggers, approval steps, and redeemability must be confirmed in the active rewards configuration.
15. Manage your account and get help
- Open Account Settings to review login details, email preferences, privacy, blocked members, and group invites.
- Use Export Data if available and review the site’s terms and privacy policies.
- If a button is missing, first confirm you are signed in and your membership is approved.
- Check whether the feature requires an organizer, business owner, vendor, or author role.
- If the problem continues, contact CNS support with the page URL, expected action, screenshot, and approximate time. Never send your password.
Member privacy and safety come first. For suspicious listings or inappropriate conduct, report the issue through the available moderation or contact channel.
Quick-start checklist
- ☐ Account created and approved
- ☐ Membership chosen and terms reviewed
- ☐ Profile photo, bio, interests, and privacy completed
- ☐ Joined one activity group and introduced yourself
- ☐ Found and reviewed one event
- ☐ Explored one resource and asked Mr. Nature a question
- ☐ Contributed one useful post, review, article, or listing
Useful starting links
- Home: https://naturestationcoop.org/
- Join / membership: https://naturestationcoop.org/how-to-join-membership/
- Community: https://naturestationcoop.org/community/
- Business directory: https://naturestationcoop.org/location/
- National Parks Explorer: https://naturestationcoop.org/national-parks-explorer/
- Outdoor reservations and permits: https://naturestationcoop.org/outdoor-reservations-permits/
- Social marketing: https://naturestationcoop.org/social-marketing-for-members/
- Event management overview: https://naturestationcoop.org/cns-events-management/
- Follow CNS: https://naturestationcoop.org/follow-us/
Publishing and implementation note
- This is a member-facing training draft grounded in publicly visible CNS descriptions and the planned CNS platform. Before publishing, CNS administrators should verify the exact menu names, submission URLs, role permissions, current prices, marketplace vendor onboarding, claim verification, and Mr. Nature launch behavior using test accounts for each membership tier. Screenshots can then be added for every workflow.
Quick links to explore
Still have questions? Ask Mr. Nature!
Need help finding a CNS feature, planning an adventure, or getting more from your membership? Mr. Nature is here to help you explore your next step.